
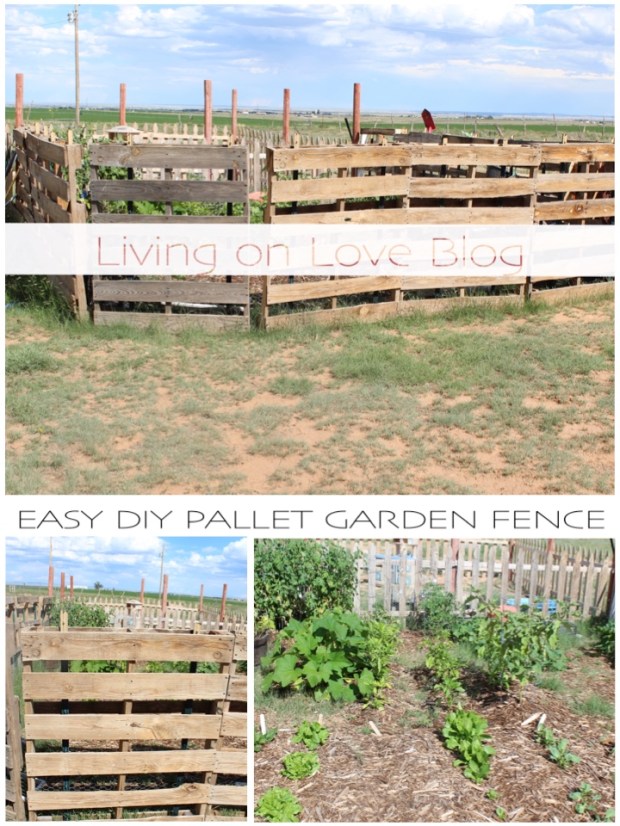
I started our first garden this year, very late. It just kind of happened that way. We are not fully homesteading yet and its hard for me to get the things we want to do started all by myself. If you are reading this and you’re homesteading alone with three toddlers I bow to you! The chickens are still free range and I knew if I started any kind of garden without a perimeter protecting it the chickens, rabbits and everything else you can name would destroy it. And that would just defeat the purpose of even having a garden. We learned the hard way this winter with the rabbits chewing all of our fruit trees, what a waste. With low funds and only myself to count on to do this project I came up with the simplest, and cheapest solution for fencing a small garden. Pallets and T-posts. The only tools I used were a post driver and a staple gun for the chicken wire I added. The reason I used T-posts is because the chickens won’t be free range forever and my garden will not be this small in the future. If I want to expand I can slide out the pallets and pull posts out and voila! I can add square footage to my garden in whichever direction I desire. Other options I saw on Pinterest involved 4×4 posts, and I just didn’t have the funds or manpower for the work that would have involved.
The T-posts cost us around $85, the chicken wire, staple gun and staples we already had on hand. We get free pallets and had enough in stock. I chose the area by the kids play “pen” because my husband suggested that we could add that space later to the garden. We plan on fencing in a portion behind the house for the kids, so that play area would need to be taken down or used for something else.
All I did was drive two T-posts per pallet, 18-24 inches apart, then slide the pallet over them. Although, I do recommend they be put closer to the center on each pallet, and that the T-posts spacing between pallets be exact. That would have been much better. But I just worked when I had the chance and winged it as I went along. Some of the pallets you will see spaced out further because as I mentioned before, I did not measure them. But the chicken wire protects those gaps anyway. I installed the chicken wire on the inside. Now looking back I would have done it on the outside but at that time I thought it would look tacky. As if this looks so beautiful. lol

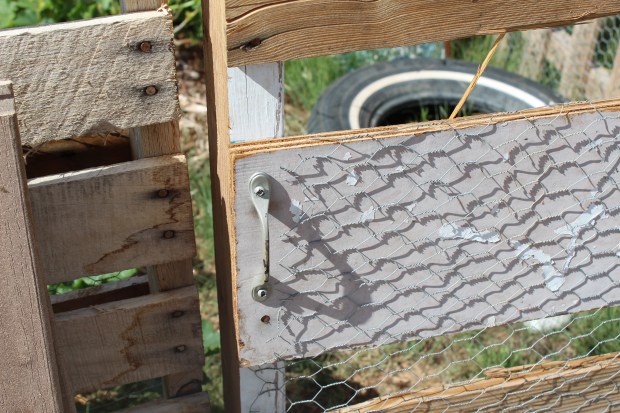
For the door I just did one T-post on one side. We had a handle laying around from the RV renovation that we kept and my husband installed that. Gotta give him credit where its due. :p
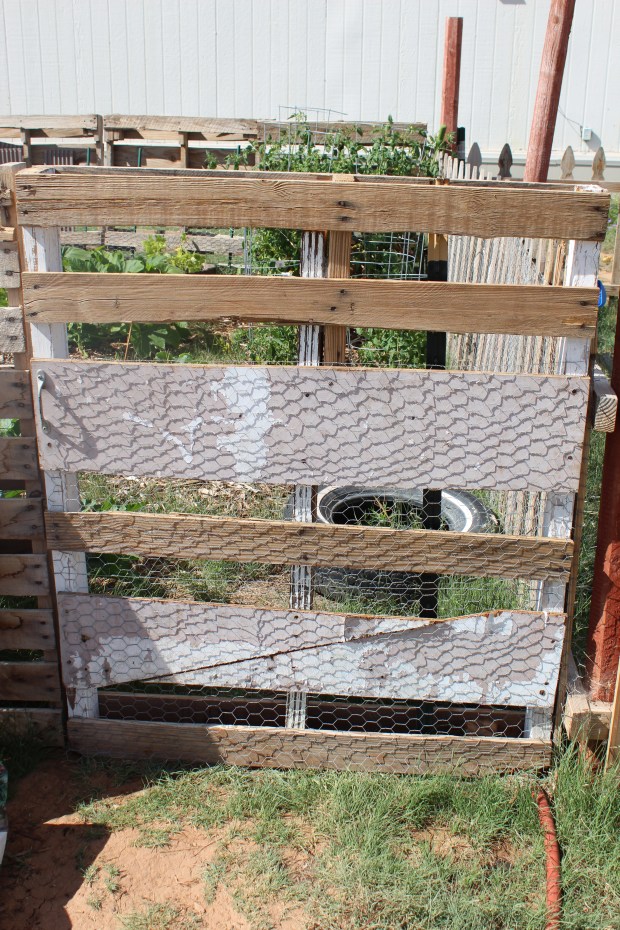
I do plan on painting the fence exterior but I want to wait. Just in case we decide to change this setup and go with something different. The planks you see slid into the pallets are actually part of a raised garden bed assembly. I just stored them there because I don’t know where or what I want to do with them yet.

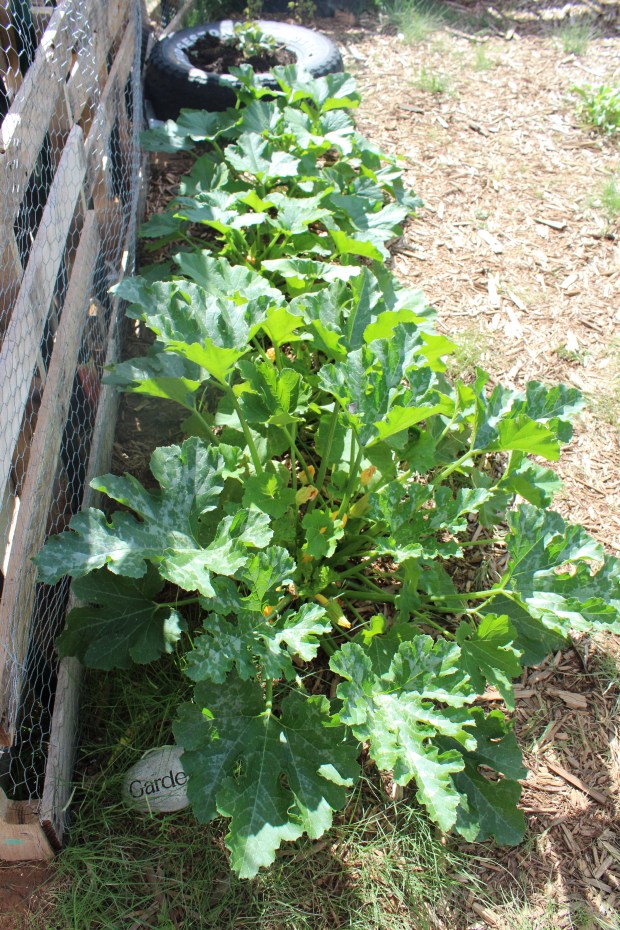
So far its held up great! I didn’t even drive the posts all the way in because they can be hard to pull out, but if you are wanting them to be more permanent you can drive them further down in the ground. And for our first garden I think its doing great. I definitely got the feel for how I should plan the garden next time, and I do plan on growing through the winter. That is going to be fun! We are also going with the “Back to Eden” method of gardening and I have to say its working wonderfully. We are in a very dry area, and though we’ve been getting a lot of rain lately (thank you Lord!) I don’t need to water much. Did you see the grass growing? We almost have a lawn! haha!
No pesticides or chemical fertilizers have been used in our garden. We haven’t had a pest problem yet even though there are visible bug bites in our produce. We’ll take bug bites over poison any day!